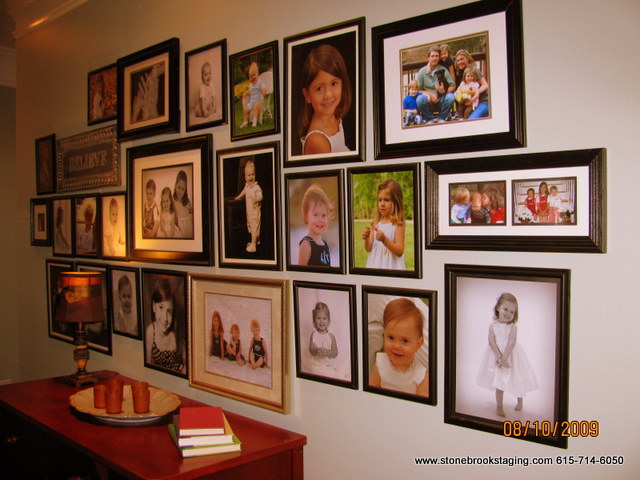
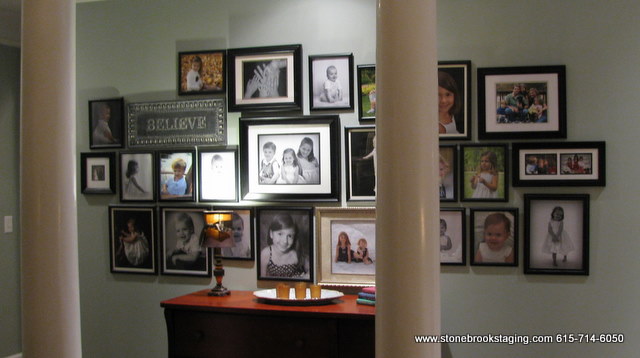
Creating a photo gallery is a great way to consolidate your family photos and make a statement. It can be a little daunting, however, when you don’t know where to start. I have some simple pointers to help you make it happen.
- Choose a hallway or one wall over a sofa or dining room buffet. Gather various shapes and sizes of frames. Choose all silver or gold, or spray paint them all the same color – black, cream, gray, light blue. Or, choose 3 styles of frames that are similar in finish to give the arrangement more depth and interest.
- Use black and white pictures for a clean, fresh look. This works equally well
 for traditional, period, or modern/contemporary homes.
 - Use grid in rectangle or square shape, aligned on one axis (center, top, or bottom). For ever-expanding photo galleries, I typically use a rectangle grid aligned on a center horizontal axis. This kind of arrangement can easily be added onto over time.
- The key to making this look neat is to to keep the distances between pictures fairly constant. A half-inch to an inch works nicely.
- Experiment with the layout on the floor or cut out craft paper patterns with tape to test on wall first.
- Draw an imaginary horizontal line a few inches below eye level on the wall and hang 5 pictures from it. Make sure you vary the sizes of the pictures and hang at least one horizontally. Next, hang 6 pictures where they hang a half-inch above that imaginary line. Stagger the placement of those pictures with those hanging below the line. Again, vary the sizes of the pictures. Now, stack pictures above that row you just finished. Make sure some are hung horizontally and are of different sizes.
Don’t be intimidated to try this yourself! What’s a couple of nailholes, anyway? You mess up, you try again. And any misplaced holes will be covered by the whole photo grouping when it’s all said and done. Your husband will be none the wiser. 🙂








0 Comments