I love staging a party. And I love staging an hor d’oeuvres table. Rather than serving lunch or dinner, schedule your party for a time that assumes lunch or dinner has already been eaten. Then you are free to choose an assortment of prepackaged frozen appetizers from Costco or Sam’s Club, easy grocery goodies like chips and dips or cheese and crackers, and simple favorite recipes like shortbread cookies and cheese krispies (see recipes below).
Don’t be afraid to move your dining table somewhere different in the room to open up the space. I often push mine back 2/3 of the way towards the back of the dining room or, like in this case, I push it completely against the wall so that I can have room for mingling and extra seating.
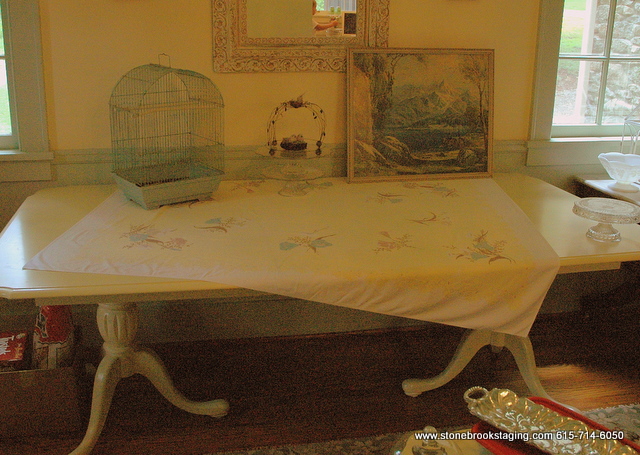
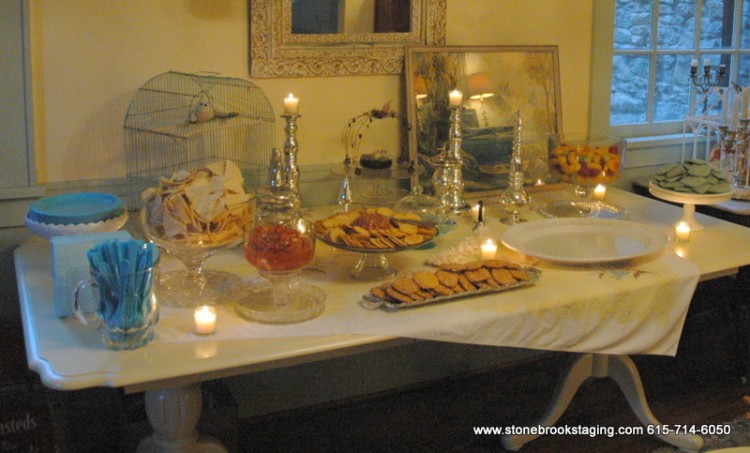
I usually start with a full-size cream or white tablecloth as a base, and then layer a few smaller vintage ones over it – but this time I left the table somewhat bare. For this party, I used a vintage square yellow and blue tablecloth and layed it on the diagonal in the middle of the rectangular table. Then I took 3 larger decorative pieces to form the backdrop for my tableau – a blue birdcage, a couple of stacked crystal cakestands topped with a decorative wire bird crown, and a large landscape portrait. The mirror here also works into that backdrop. Although this is an assymetrical grouping, I balanced the visual weight across the back of the table (see my post on Feathering Your Nest: Dressing Your Mantel).
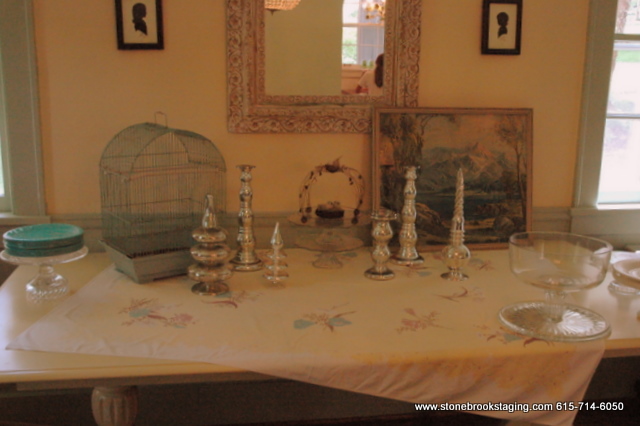
Next, I added in mercury glass (silvered glass) objects. I used 6, scattering 3 on each side of the central bird crown. Again, I tried to balance the visual weight as I added new objects. In this tablescape, I used mainly crystal, mercury glass/silver, and white ceramic pieces. It’s good to stick to 2 or 3 materials to keep it from seeming too random. Then I added the blue objects for punches of color.
Oh, let me show you something cool! I have lots of different-sized cake plates on pedestals and glass domes. These can be very versatile – flip over a mismatched dome and a cake stand and you’ll see that they can fit together to make a small punch bowl or trifle bowl for fruit or chips.
 |
 |
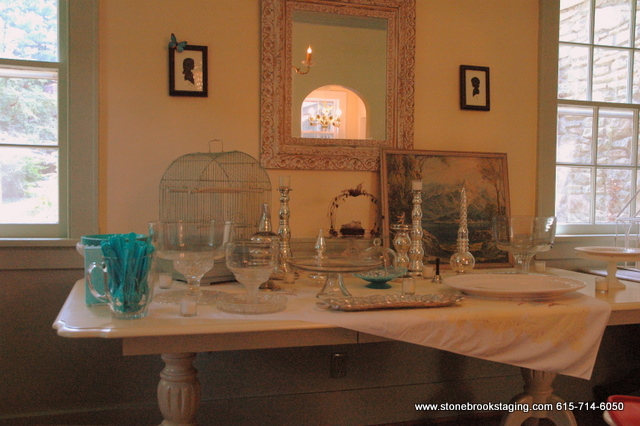
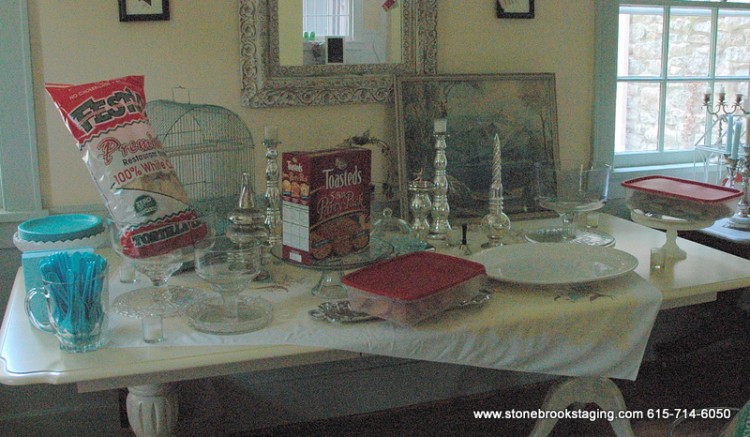
I made a list of the food I was serving, then decided what shape and size of serving pieces I would need for each type of food. I went ahead and staged out the table with my serving pieces so I would know how everything would fit. You’ll see the larger decorative items sit in the back of this tableau, while the serving pieces are scattered across the table within reach. That way there’s no awkward leaning across the table to reach the food. I then added in some clear glass votives from Hobby Lobby, a small glass pitcher to hold blue plastic forks, and a few other decorative accessories.
Before the party, I went ahead and laid out the foods that didn’t require refrigeration so that party prep would be quick and easy.
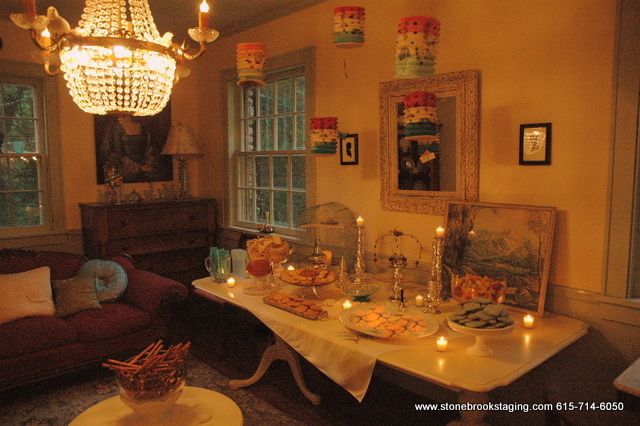
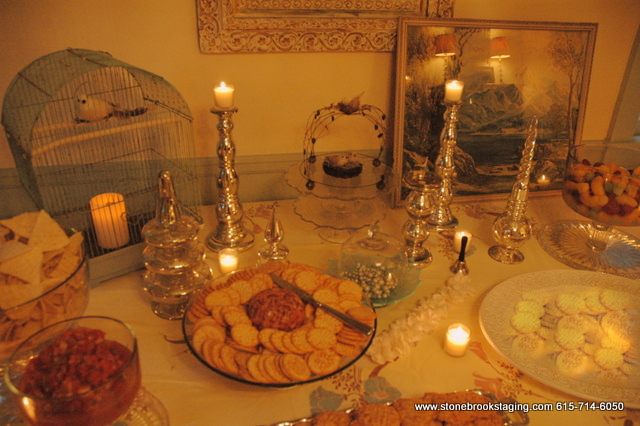
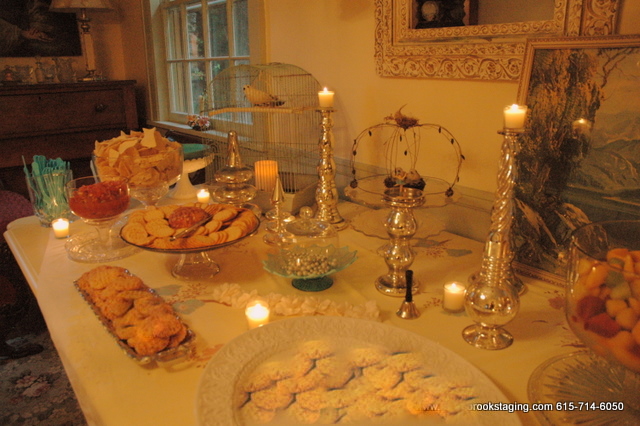
Here’s the finished product. A simple tablescape, really – all things I already had. No real theme here, just a common palette of blue, white, and silver. An elegant table, despite the fact that the food is simple and served on paper plates!
Notice how I used the flipped domes and cake pedestals to hold the chips, dip, and fruit. It always looks good to elevate selected items on pedestals across a tablescape. A faux bird and a battery-operated candle sit in the birdcage.
Here’s a couple of yummy recipes to help you throw your next party:
Puffy Muffin’s Cheese Crispies
1 tsp cayenne pepper
1 tsp salt
3 cups sifted all-purpose flour
1 1/2 cups butter, softened to room temperature
3 cups grated sharp cheddar
1 1/2 cups rice crispies
Sift flour, add cayenne and salt. Cut butter in. Work mixture with fingers until corn-mealish. Add cheese and rice crispies. Continue to mix with fingers. Roll into 1-inch balls, flatten on cookie sheets lined with parchment paper. 350 degrees for 15 minutes. Cool completely.
Jane’s Shortbread Cookies
1 cup softened butter
3/4 cup sugar
2 egg yolks
1 tsp vanilla extract
2 1/4 cups all-purpose flour
1/4 tsp salt
Beat butter and sugar for 5 minutes. Add egg yolks/vanilla. Combine flour and salt, gradually adding to the mixture. If you want color, add food coloring (I used blue for this party) to the dough – no icing is needed. Cover and freeze for 30+ minutes. Roll out dough on parchment paper, flouring your rolling pin and cookie cutters well. Bake the cut-out cookies at 350 degrees on parchment for 10 1/2 minutes.
.






Hey Kristie, Please add [email protected] to your email blog. She is a friend of mine that would love your ideas..thanks and your party was wonderful. thanks for including us. Leif
I do the same thing! It may look a little silly, but I place any unopened bags of chips and “tupperwared” snacks on my serving pieces long before the party to decide how many pieces I need and where to place them. I also use sticky notes to label the other platters and bowls that will hold hot or cold dishes to be brought out right before party time. This is also a good time to make sure you have the appropriate spatulas, cake servers, and serving spoons and put them in their places. You don’t want to have to go on a ladle hunt in the middle of the party.
Michelle – good preparation makes you less stressed when you are counting down the hours until the party, doesn’t it? Good tip about having the appropriate serving spoons laid out – I actually forgot to put a serving spoon in that fruit bowl from the party in that post!
Oh dear, the cookie recipe. YUM.
Such good ideas, and it naturally looked fabulous in person as well!
i like your website,i’m benefit from many articles,thank you.