
After several blogposts of various boys’ room makeovers at the Tennessee Baptist Children’s Home in the Greater Nashville area, today I’m showing you the reveal of the room I designed. PLUS, I’m going to tell you exactly how I did the mountain mural that inspired the whole room.
The bedroom previously had a bit of a car and travel theme. My idea was to do an outdoor theme that would be appropriate for any boy, from preschool all the way up to teenage. Here is how the room looked before:
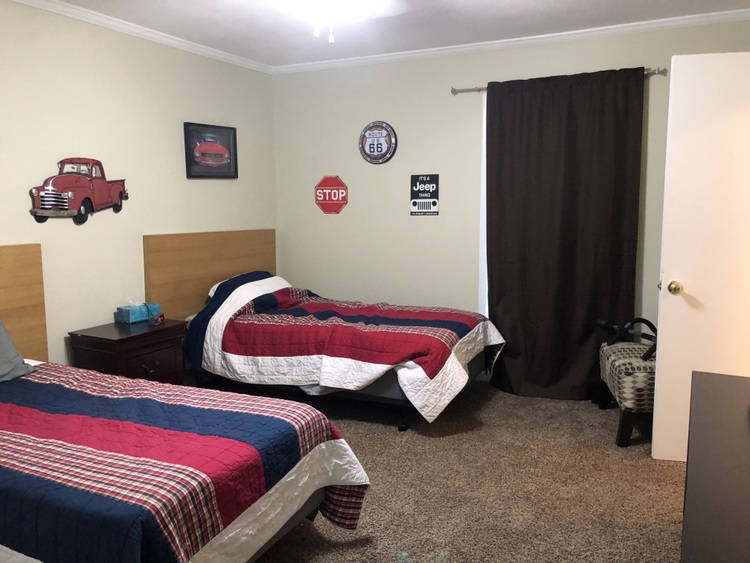 before
The main wall color is Sherwin-Williams Wool Skein SW6148, which is a perfect sandy beige. Our local Sherwin-Williams was kind enough to provide us a 75% discount on paint and paint supplies for this project! I chose variations of blues and greens for the decor in the room:
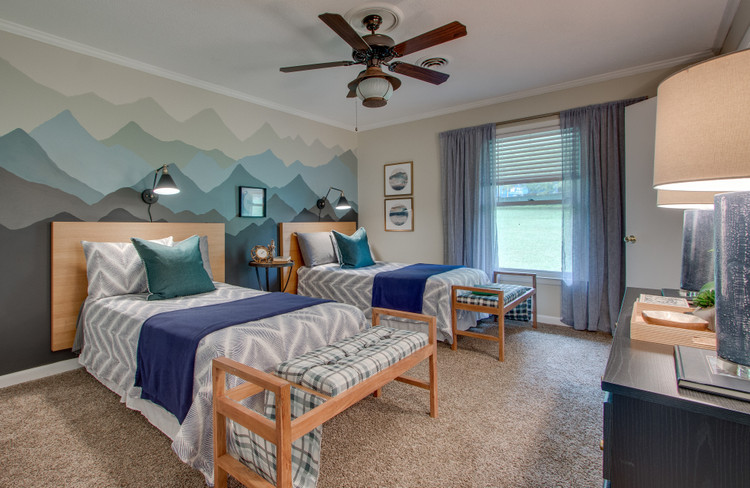 room and color design by The Decorologist
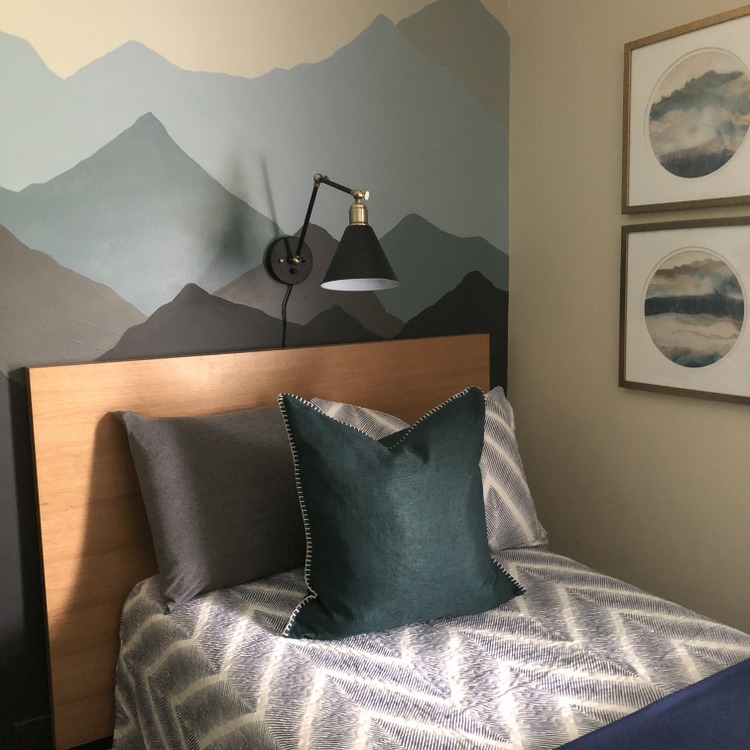
After determining I was going to paint a mountain mural, I found this art that tied right in:
Here’s a before shot from another vantage point. You’ll notice I chose to keep the headboards as-is:
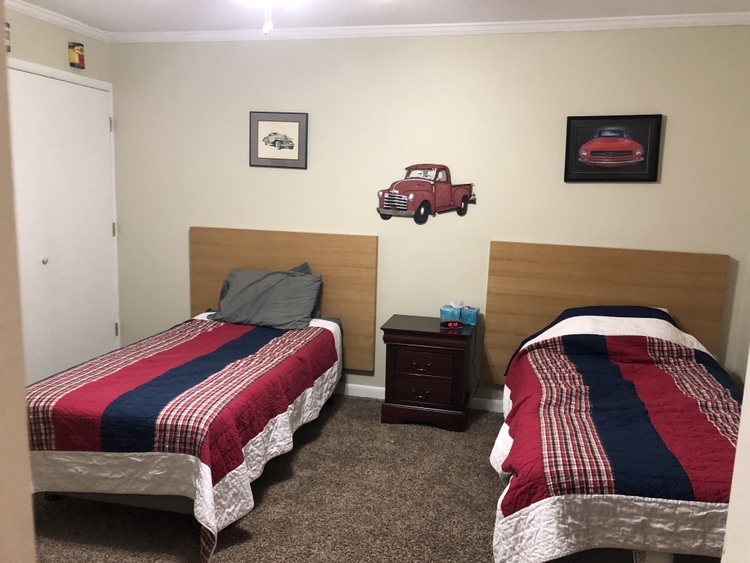 before
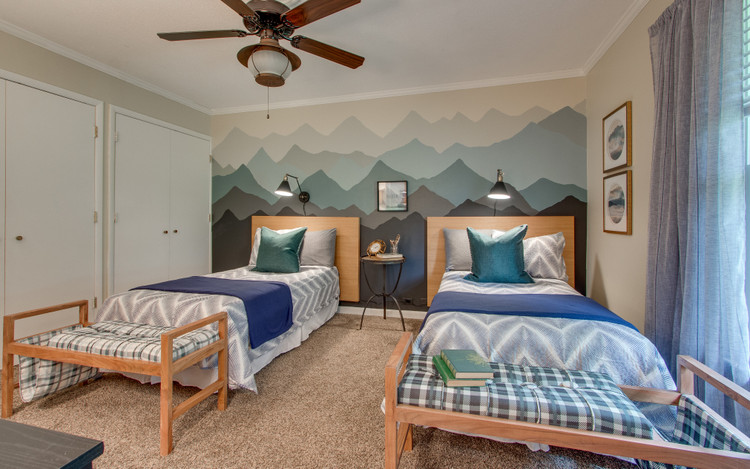
I was happy to find the plaid upholstered benches for the ends of the beds with a similar wood tone as the headboards! The bedding repeats the mountain shapes, too. Did you notice the new ceiling fan? I want to thank my favorite source for lighting, Grahams Living, who gave me a great deal on this beautiful fan and fixture that resembles a vintage camping lantern!
 The Decorologist
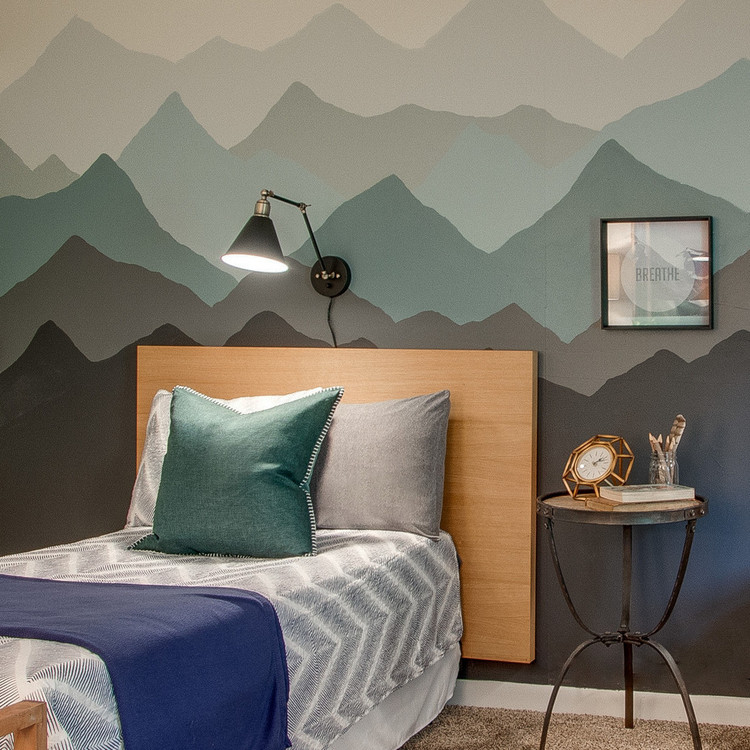
These fabulous plug-in reading lamps are adjustable and dimmable, so the boys can read late into the night without keeping each other awake. You can find similar lamps here.
Here is a before shot from the opposite side of the room, facing toward the adjoining bathroom:
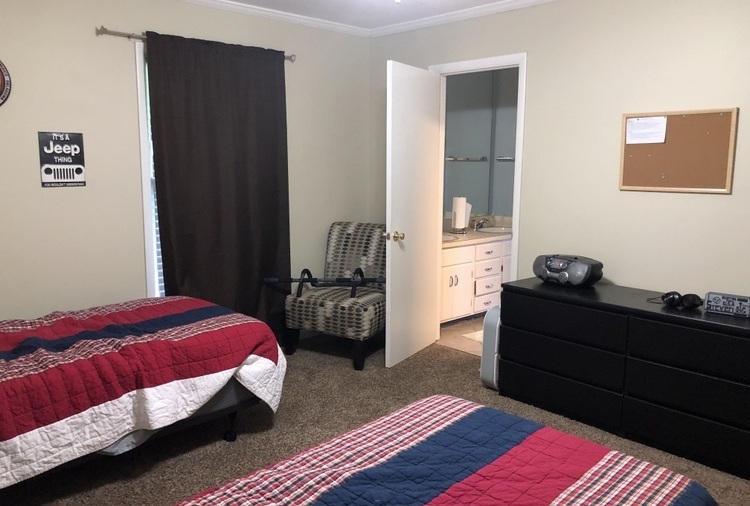 before
And here is the after:
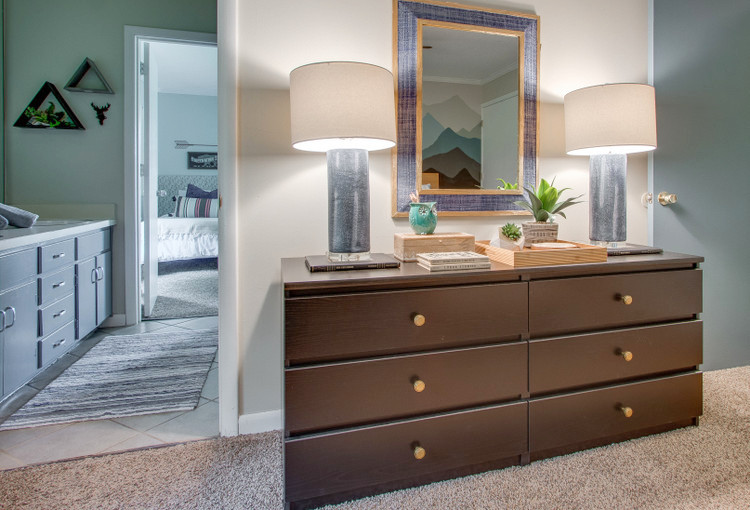
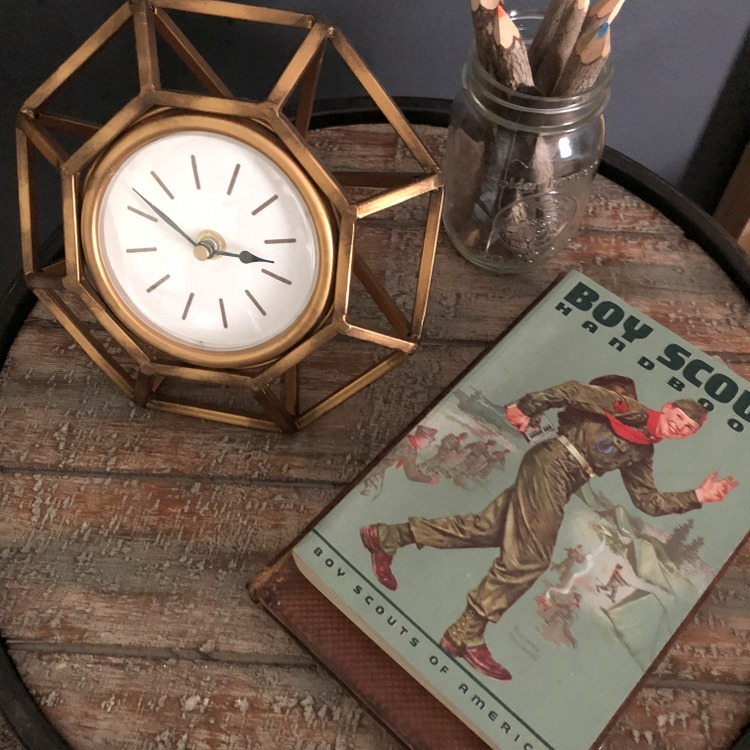
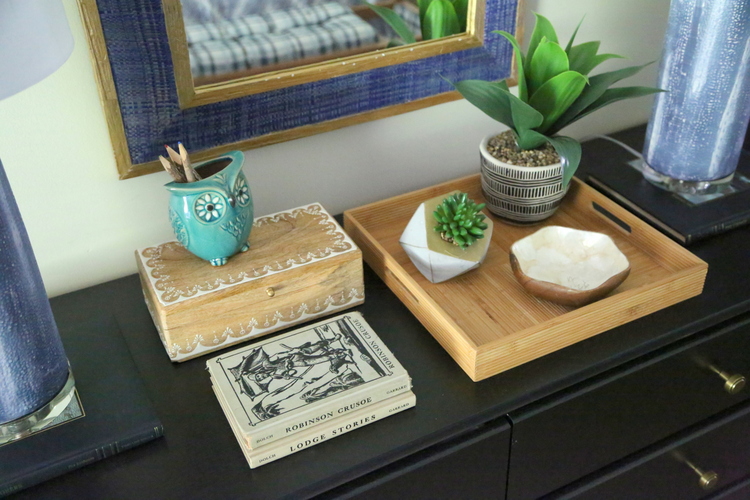
All the IKEA dresser needed was some gold knobs and some cool tabletop accessories.
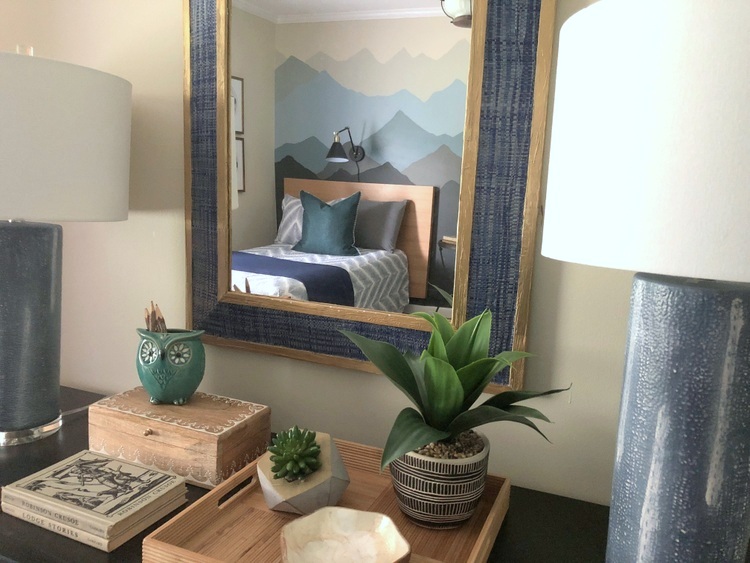
Here’s the bathroom before:
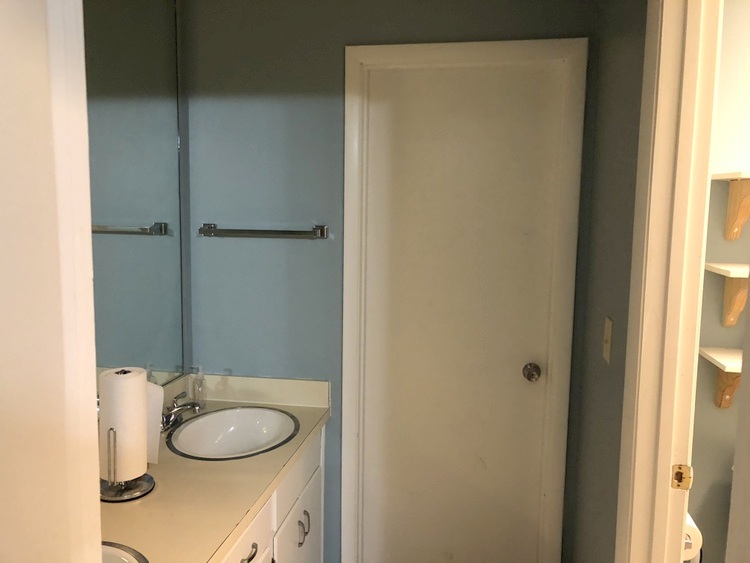 before
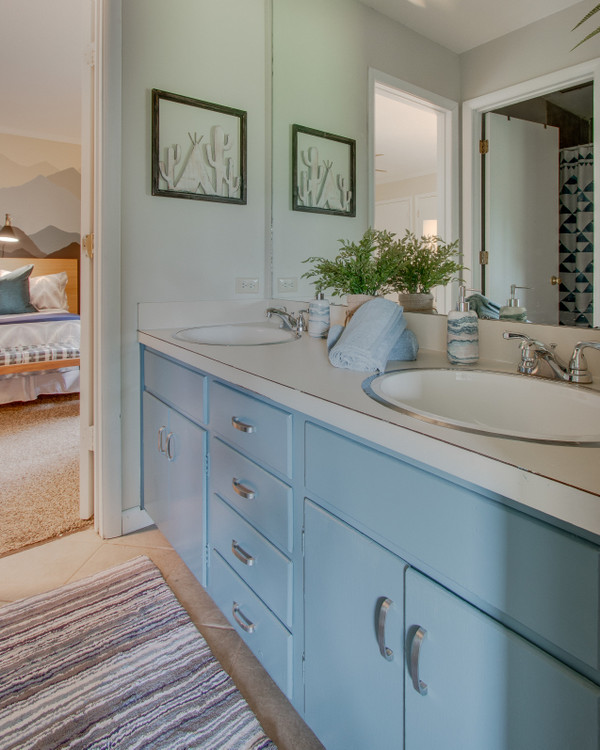
Since this bathroom is shared with another bedroom, I worked with the designers of the adjoining bedroom to design this bathroom. We painted the walls Sherwin-Williams Wool Skein SW6148 to brighten it up and tie in with my bedroom, while updating the hum-drum base cabinets with Sherwin-Williams Blustery Sky SW9140. It looks so much better with the creamy countertop than the stark white did before!
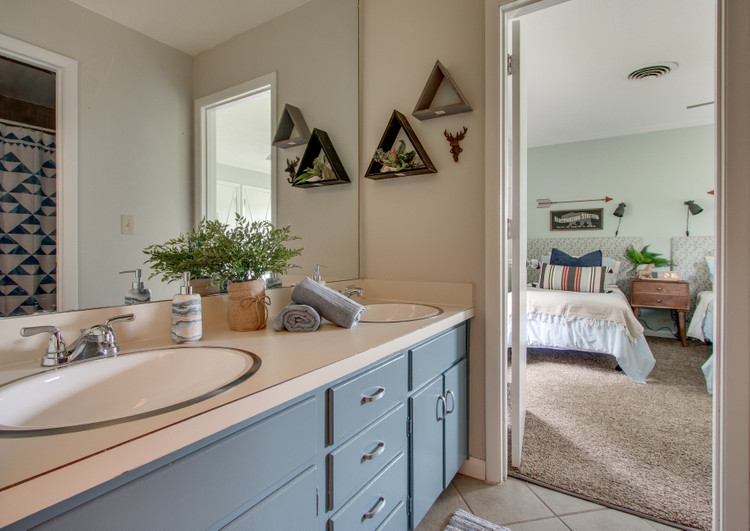
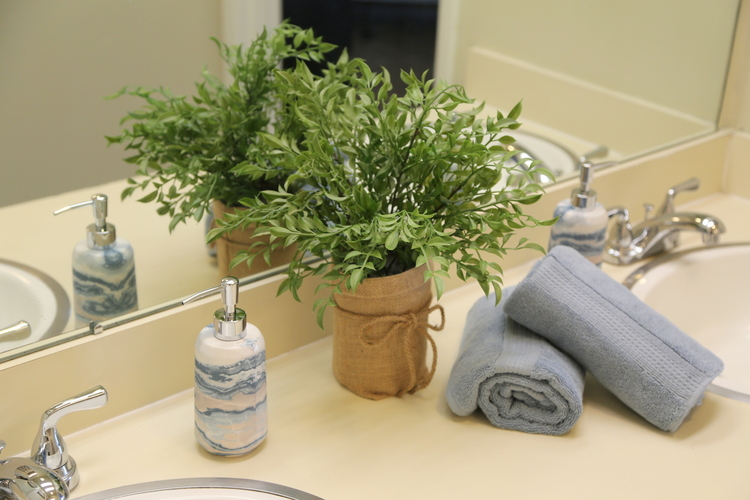
I even found soap dispensers that tied in with the abstract mountainscape – isn’t that cool?
And here’s the view back into my bedroom. You can see a little peek of the shower curtain with a triangle motif that, again, echoes the shape of mountains:
Ok, now I’ll show you how I did the mural. Including the existing wall color, I chose 7 colors for the abstracted mountain mural. You could do as few as 5, if you like. It’s best to do the lighter colors at the top and go darker as you move down, like an ombre effect.
I simply took a pencil and drew zig-zag mountain ranges from one end of the wall to the other, then I started with my lightest color and painted two coats between the top two mountain ranges with a slanted, medium-sized paint brush.
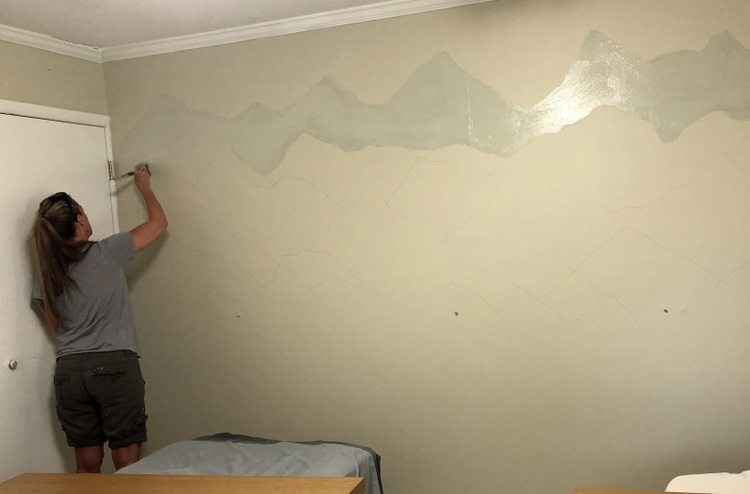
I assure you, I am no artistic painter! It was easy, I promise. This took most of a day, as I had to do one color at a time and allow the paint to dry between coats. I didn’t use painter’s tape, except in the corners so as not to get paint on the adjoining walls. I used a small artist’s brush to define the top edges of each mountain range.
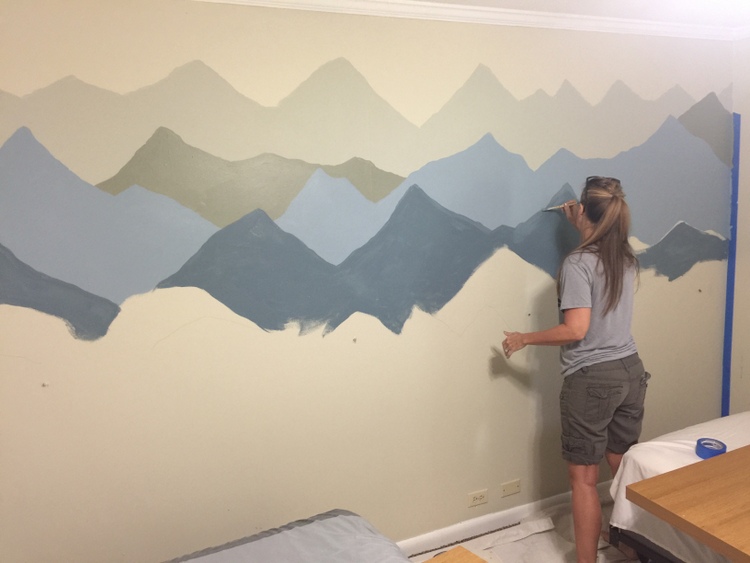
The bottom mountain range is quite dark (almost black), but I knew the beds and headboards would cover much of that portion of the wall.
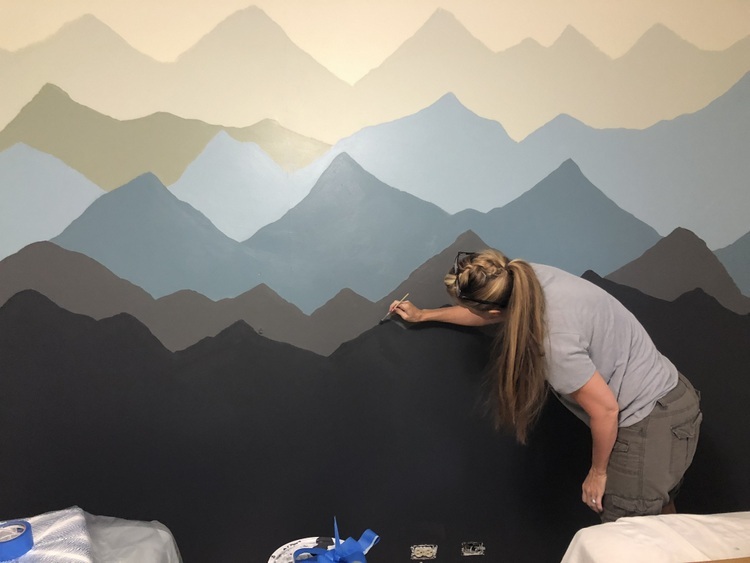
I am pretty pleased with how it came out!
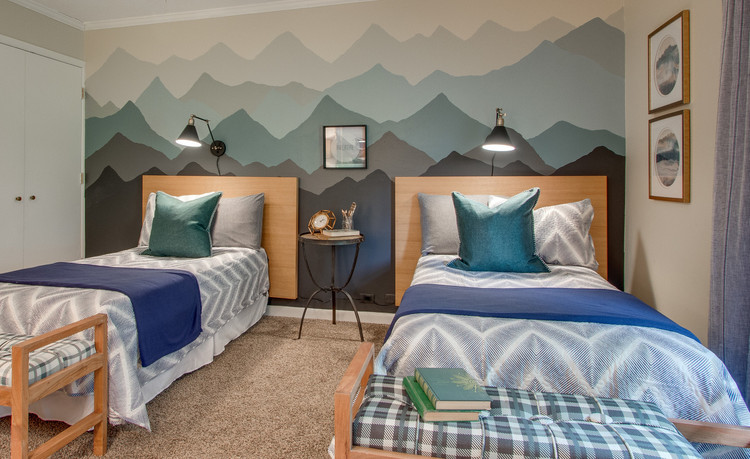 design by The Decorologist
You can certainly choose whatever paint colors you wish, but here’s the colors I chose for this mountain mural, starting from the top (I used latex wall paint in an eggshell finish):
Sherwin-Williams Wool Skein SW6148
Benjamin Moore Paris Rain 1501
Benjamin Moore Greyhound 1579
Sherwin-Williams Meditative SW6227
Sherwin-Williams Blustery Sky SW9140
Benjamin Moore Kendall Charcoal HC-166
Benjamin Moore Wrought Iron 2124-10
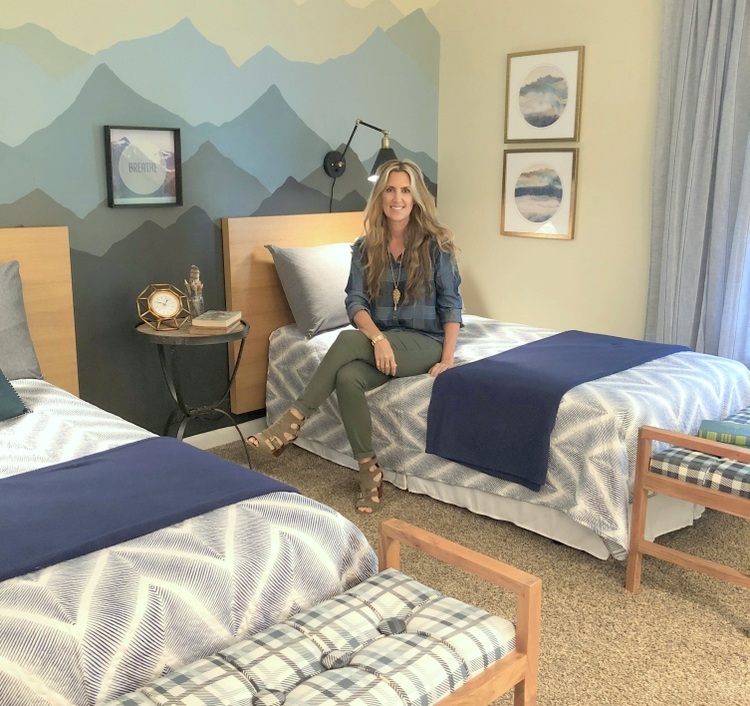
Thanks again to Sherwin-Williams and Grahams Lighting for their support! I hope you like how this room makeover turned out, and that you’ve gotten some inspiration for decorating kids’ rooms from my last several blogposts covering the work of our Greater Nashville RESA chapter.
But what I REALLY hope is that you are inspired to volunteer your creativity and skills in a women’s shelter, foster home, school, church, elderly care facility, or community center that could use a little beauty to cheer the hearts of those who spend time there!
If you are a professional home stager, perhaps you can make a plan to give back to your community over the next month – afterall, November is Home Staging Awareness month 🙂
Have a wonderful weekend!











I love the mural behind the headboards. An awesome job by everyone,
Thank you so much, Celeste! Have a great weekend 🙂
Kristie, I love everything about this!! I love your perfect sense of color and style and artistry but most of all I love your hear to serve. xoxoxo
Thank you, Dana. I can barely draw a stick person, so that mean a lot!! 😉
Wow, Wow Wow! Girl you nailed it!! Love how you pulled all the colors and shapes together through out the entire space. Thank you for sharing your time , talent, creativity and your heart for these precious boys.
Thank you, Doreen! And thank you again for your help in the living room space of Hart Cottage. You made a big difference in the heart of this home! xo
This is so great! I have been looking for a mountain DIY for my little ones room! Can you tell me.. What size paint did you need for each color selection? I’m so in love! Great job!
Cassie,
All you need is a quart of each – I was working out of leftover paint cans I already had. You might need a little more for the bottom section, which requires more paint. I’m glad you like it and hope it helps you in your little one’s room. I’d love it if you’d send me a photo when you’ve finished! Just send it to my office manager at [email protected] 🙂
Very nice, Kristie! I’m so impressed with your artistic abilities! Nice room that will last a long time.
Thank you so much, Carla!
This is such a great transformation! The mural is genius and I love all the little tie-ins to your theme without going all cliche. What a beautiful job!
Thank you, Janet. It can be tricky to do kids’ rooms that don’t go too theme-y or cliche!
This is impressive! I don’t think I would have the courage to take on such a big project myself.
I was wondering where you got the framed art to coordinate with the mural? I have been looking for a good source from some generic mountain or forest photos for my own boys room and can’t find a good place online…Thanks!
Actually, I found those at HomeGoods, Jennifer!
My son’s room once had huge windows all across the front and side, so I did something similar to this in different patterns of window film. It looked great from inside and from the street, and I hung navy blue sheers on the sides to soften it a bit.
Oh, that sounds so neat, Kathy! Great idea.
Wall mural is amazing! I can’t believe that you did it free hand, you are very talented. The finished room is everything boys of all ages will love.
Thank you, Susan, but I swear it was super-easy!
How much paint did you need for each color?
Great job. Thanks for sharing and for the inspiration 🙂
Thanks for the inspiration! A little more challenging starting with a paneled wall, but I made it work. 😉
Oh my goodness! This looks amazing. I can’t believe you did this on paneling, great job!!! Thank you so much for sharing.
Hello Malibu! I’m so so impressed with your mural on the paneling and LOVE the color scheme you chose. Can you share the names of the paint you selected? Thank you!!
What is the background color and the color is the surrounding walls? Looks so lovely!